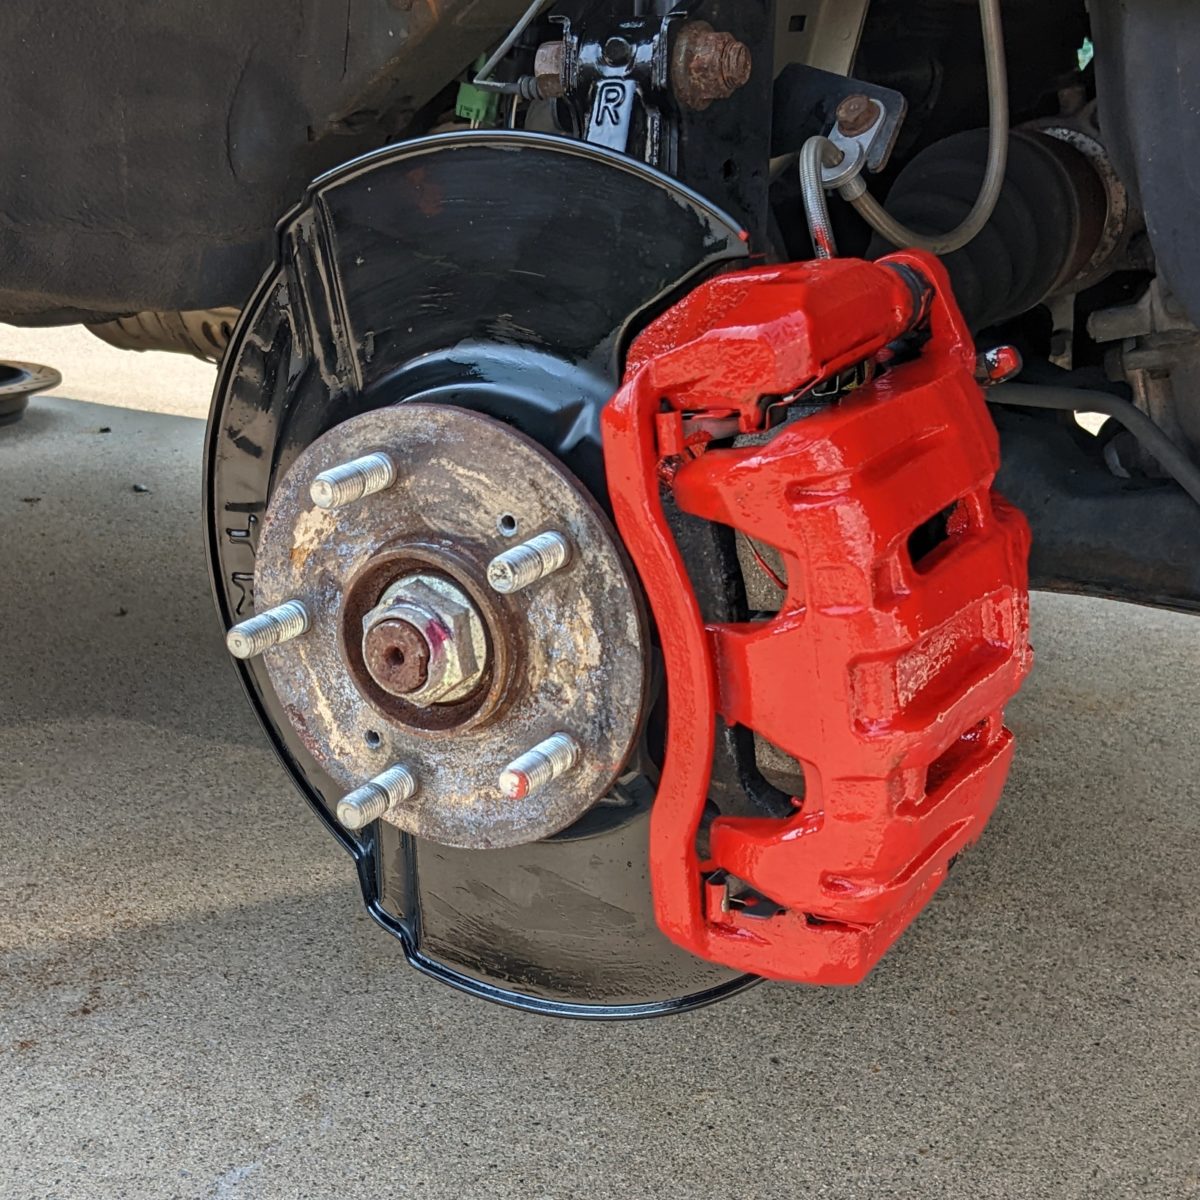
The old calipers on the CR-V were looking a bit ragged, poking their scaly selves through the alloy wheels. It’s not a good look to have everything cleaned up, yet have something so obviously out of place.
Answer? Caliper paint. I looked through several systems until I saw that POR15 had a caliper paint, which was applied after using standard gloss black POR15 as a primer.
I have to say, the appearance as I applied the caliper paint was not encouraging, as it looked rather coarse. But it lived up to its self-leveling claim and leveled itself out.
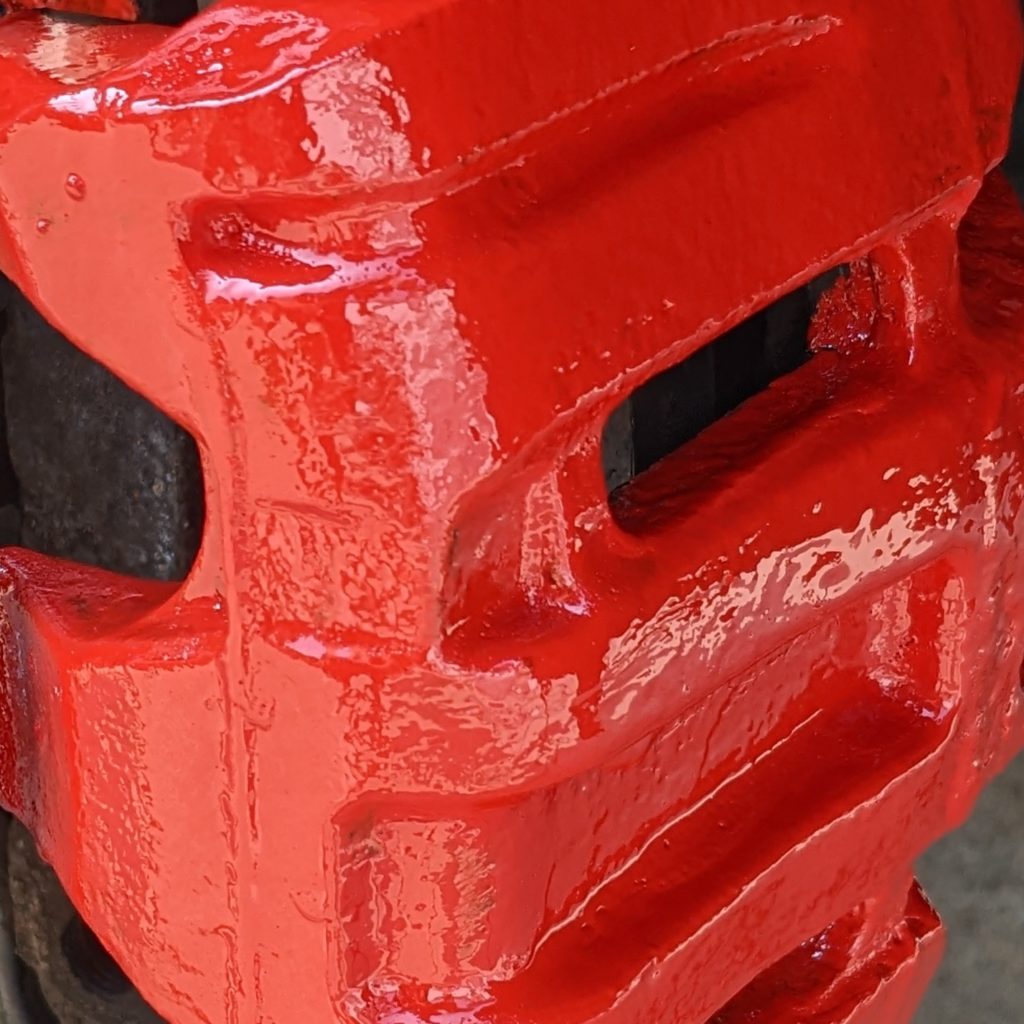
This is the day after, about 18 hours after the final coat.
That’s the key, though–applying all the coats at the specified time, which makes doing the calipers an all-day job. Literally.
Ideally I would have removed the calipers entirely, but decided to paint them in place with the rotors removed. Not ideal, but it allowed me to get into some tighter spots. Anyhow, here is how the two days played out for me. I did some prep work the evening prior.
First, the calipers and any other metal you want to coat needs to be descaled–any loose rust or chunks need to be knocked off with a wire wheel or other abrasive.
Next, the metal needs to be cleaned and degreased. POR15 does sell a cleaner/degreaser, which is mixed at a 1:4 ratio of cleaner to water. I sprayed everything down heavily, respraying it a little after a few minutes as it dried, then power washed everything.
Following that, there is a metal prep step that POR15 recommends. That is brushed on and allowed to sit, remaining wet, until it can be rinsed off after 20 minutes.
Once everything is rinsed, everything needs to be completely dry. I used compressed air, then let the cleaned parts sit for an hour to fully dry.
Now, we can begin painting. POR15 is tyically applied in two coats, but for the calipers, I only laid down a single coat as a primer. The other metal parts I did were given two coats.
There is a wait time between coats. POR15 takes about two hours between coats, the first coat ready when it has a slight “finger drag.” The caliper paint takes longer, maybe 3-5 hours, before it can be recoated. This is how it becomes an all-day job.
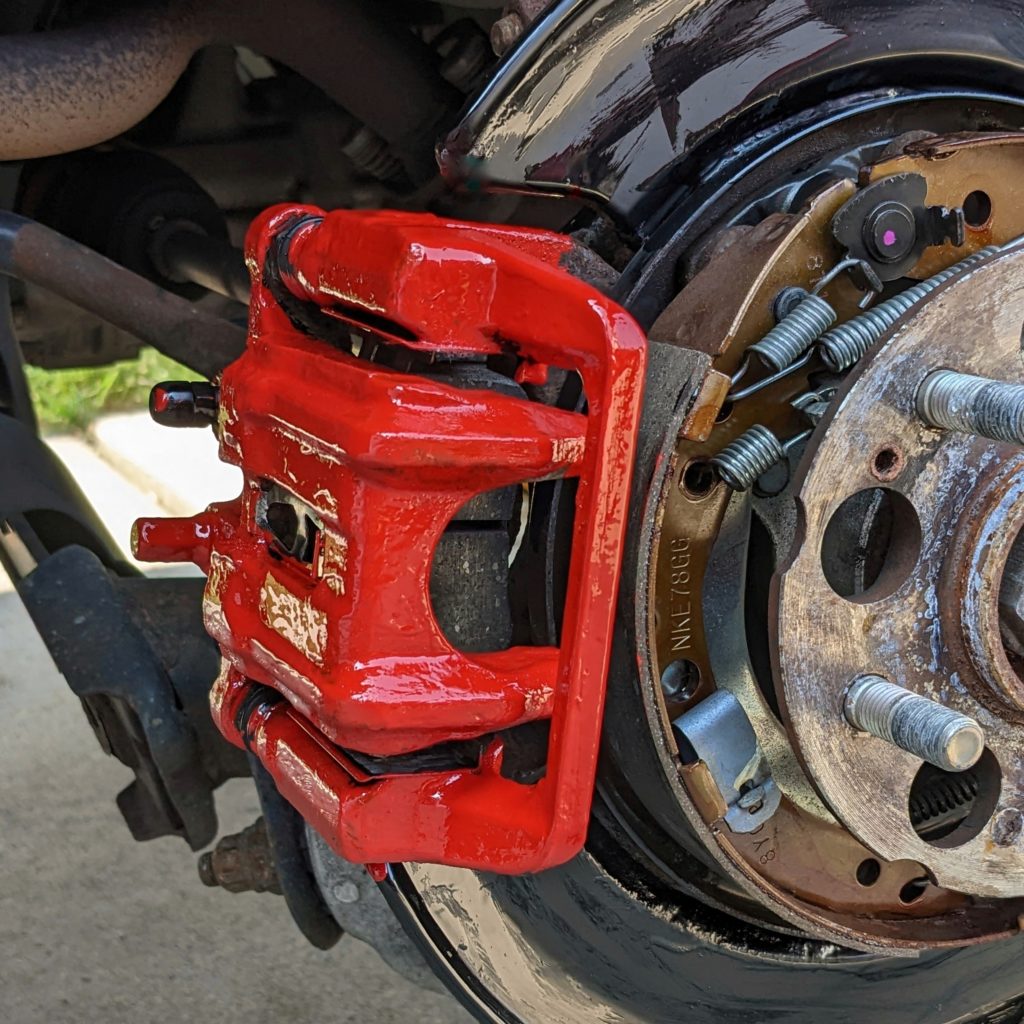
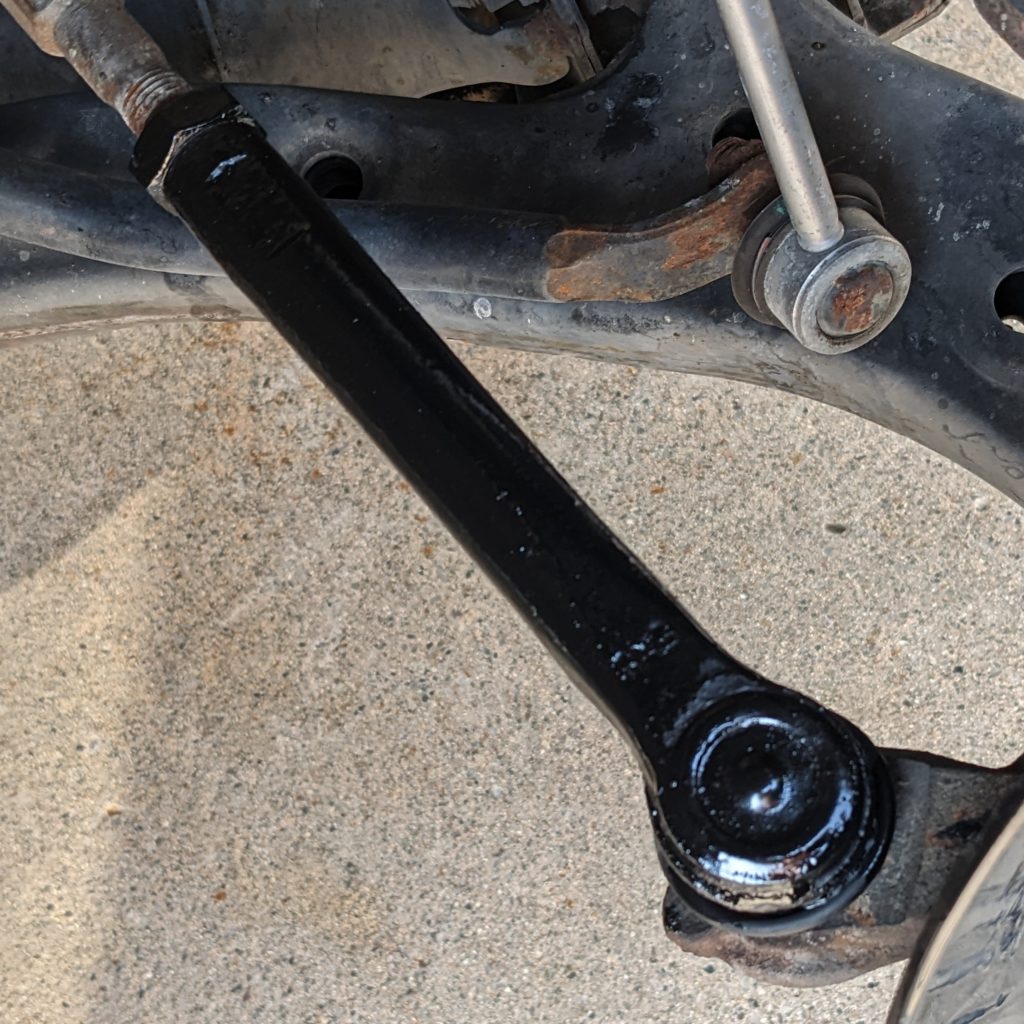
Not too bad! I also painted the dust shield for the brake rotor, as it was developing some rust in a few spots. I also painted a couple of pieces up front, like the top of the knuckle and the outer tie rods, since they can appear through the wheels. It turned a scaly, rusty tie rod into something that looks presentable.
I used it to touch up the powder coated trailer hitch, and the the end of the muffler since it had a darker coating at the factory that had eroded over time. Looks much better now.
So my next move is to use POR15 on a few other projects. I want to cover more of the parts on this CR-V, the other CR-V, and especially Earl Burner since it is older and only starting to display some surface rust in a few places. I don’t know if I’ll get to it this autumn since the days are getting cooler, and this needs at least a 70°F day to apply it.
As for the half pint of caliper paint, I have more than half of it left. If someone had larger calipers, they would obviously use up more of the paint. As it stands, I might do the front calipers on Earl Burner in red if I decide not to do them in black only. The rears are drums, and there would not be enough paint to do them in red.
My only complaint was the metal can for the gloss black POR15. I had to destroy the lid to get it off. And, I then had to find another sealed container to dump it into. I’m thinking that even though this replacement container is air tight, I need to use this stuff up as fast as I can. Hopefully it will survive the winter.